Align the full figure
Choose a GIF, JPG, PNG, or WebP, then drag the image until the head, arms, body, and legs fit the 1:2 Minecraft body guide.
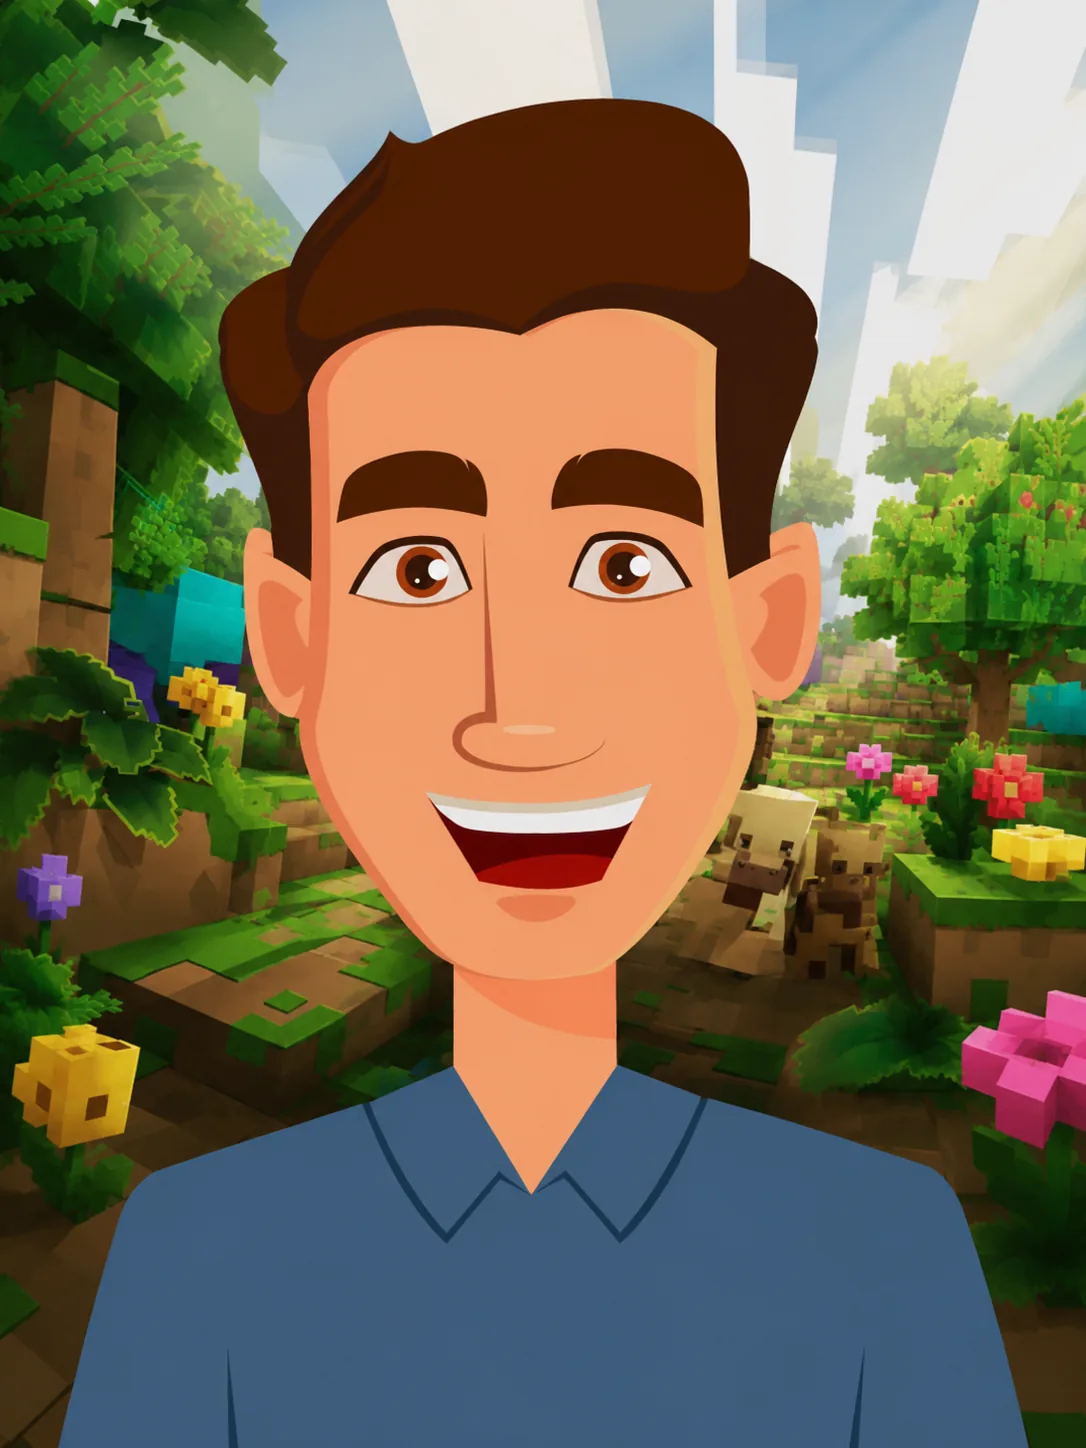 Before
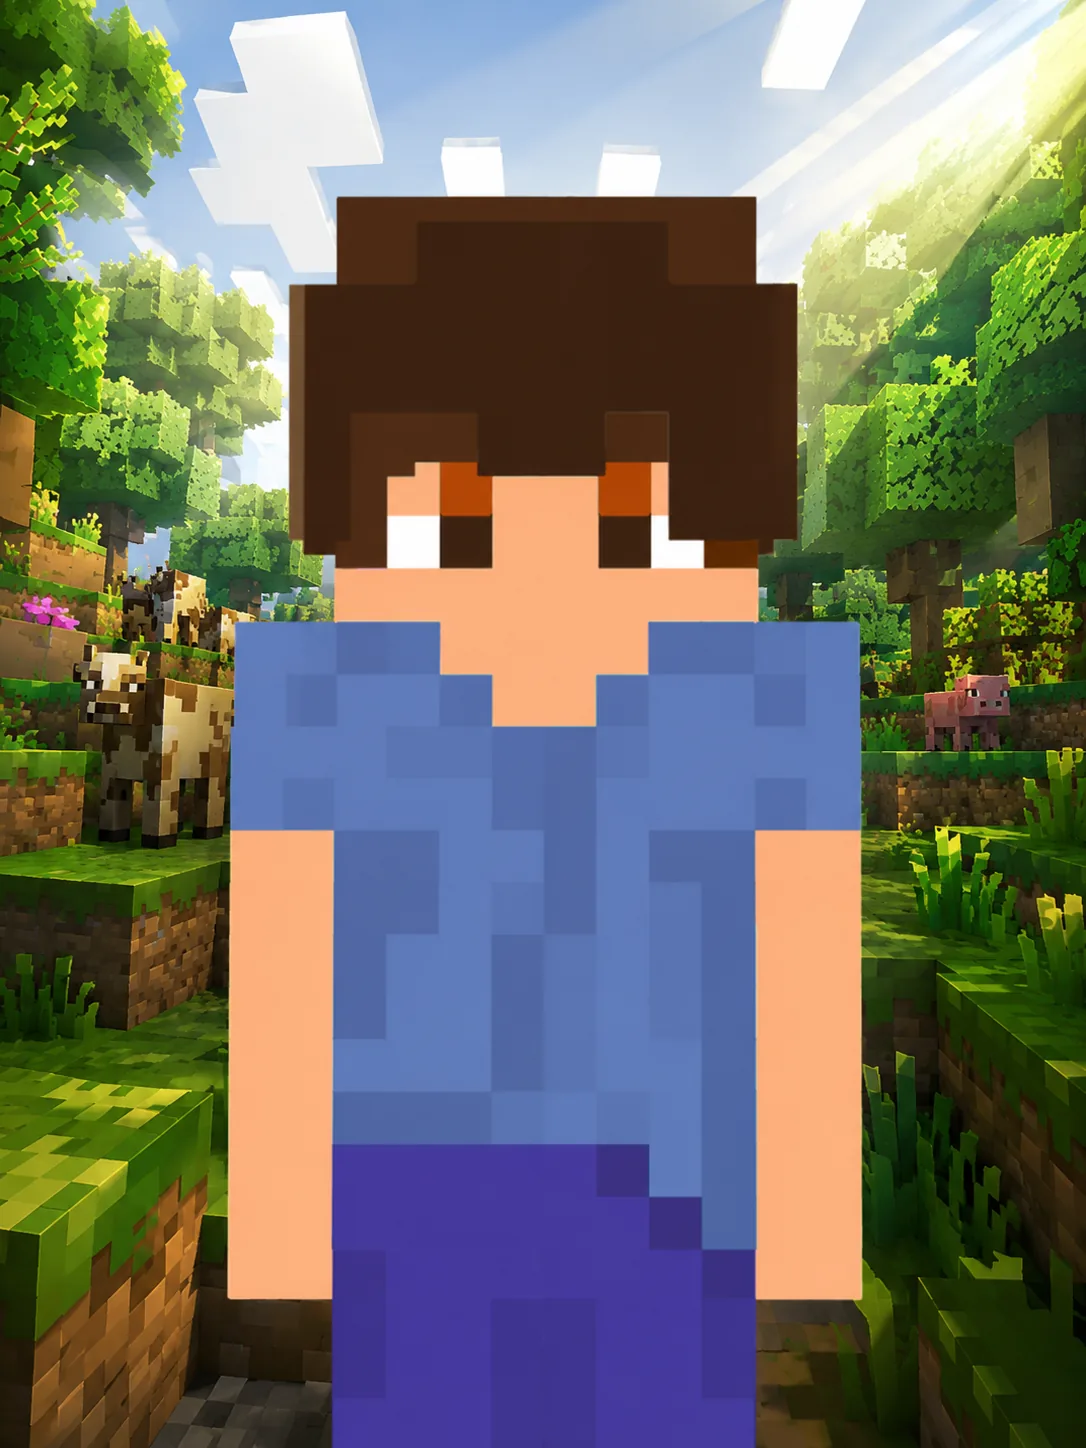 After
AfterFree online image-to-skin converter
Use a photo, avatar, or character image. Align the full figure to Minecraft body parts, add an optional back view, inspect the exact UV map in 2D and 3D, then download a 64×64 or 128×128 PNG. No account is required, and processing stays in your browser.
Ready for a front image
How it works / three moves
A Minecraft skin is not a shrunken photo. This converter crops a full figure into the head, torso, arms, and legs, writes those regions to the standard skin UV layout, and exposes the generated front, back, and sides before download.
Choose a GIF, JPG, PNG, or WebP, then drag the image until the head, arms, body, and legs fit the 1:2 Minecraft body guide.
Add a separate back image for more detail, or let the workbench mirror the front. Smoothing and side wrapping update the skin live.
Rotate the generated skin in 3D, inspect the exact flat layout, then export a standard 64×64 PNG or a 128×128 HD PNG for compatible workflows.
Guide / what the file is
A normal photo, drawing, avatar, or character concept is a rectangular image. Minecraft cannot use that picture directly as a player skin. The game expects an unwrapped PNG texture in which fixed rectangles belong to the head, torso, arms, and legs. Every front, back, side, top, and bottom face has its own place in that layout. Shrinking an ordinary photo to 64×64 pixels only creates a tiny picture; it does not create a wearable Minecraft skin.
This converter turns the visible person into a structured skin draft. The 1:2 body guide divides the source into recognizable body regions, then writes those regions into the classic-width Minecraft UV layout. A front image supplies the visible front of the character. You can add a separate back image when clothing, hair, or accessories need a real rear view. Without one, the converter mirrors the front and extends edge pixels around the sides so the file remains complete.
The process is deterministic rather than generative. It does not invent a hidden jacket design, guess a hairstyle from another angle, or promise a handcrafted skin from one photograph. The same crop and settings produce the same pixels. That makes the result easier to understand and correct: move the image, change the scale, compare the 3D model with the flat texture, and download only when the mapped body parts look right.
Better input / cleaner draft
Source quality matters, but megapixels are not the main issue. A standard skin has very little room for facial features, clothing seams, and accessories. Large shapes and clear color boundaries survive the reduction better than tiny details. Before uploading, look at the image as a silhouette: if the head, both arms, torso, and both legs are easy to identify, the body guide has useful material to map.
Use a front-facing full-body photo or character illustration whenever possible. Keep the top of the head and the feet inside the frame, and avoid poses where arms cover the torso or legs overlap. A portrait can still produce interesting colors, but it cannot accurately tell the converter where a full outfit belongs.
Plain or quiet backgrounds reduce accidental colors on the arms and body. Even lighting helps the left and right sides stay balanced. Strong contrast between hair, skin, clothing, and the background is more useful than heavy filters or dramatic shadows, which can turn into dark blocks after downscaling.
Broad hair shapes, large eyes, simple jackets, bold stripes, and clear color groups usually remain recognizable. Small text, thin jewelry, realistic fabric texture, and detailed scenery usually disappear or become noise. Turn off smooth sampling when you want harder pixel edges; enable it when a photograph becomes too jagged at skin resolution.
A separate back image is the best way to preserve long hair, jacket graphics, capes painted into the base texture, or different front and rear colors. Photograph or draw the character at a similar scale and pose from behind. You can align the two views independently, so they do not need to be perfectly identical before upload.
Formats / compatibility
The 64×64 download is the safest default. It uses the modern unwrapped skin layout and classic four-pixel-wide arms. Minecraft Java can import an unwrapped PNG as a Classic or Wide model, so choose that model when adding the file in the launcher. The converter does not currently generate the three-pixel Slim or Alex arm layout, and labeling the file correctly prevents shoulder and arm pixels from appearing in the wrong place.
The 128×128 option keeps the same UV proportions while doubling both dimensions. That creates four times as many pixels for compatible HD editors, launchers, and Bedrock workflows, but it does not make missing source detail reappear. Platform support also varies. If an app or game rejects the larger file, download the 64×64 version instead rather than resizing the PNG in a general photo editor.
Minecraft supports custom skin imports differently across editions and devices. The official Minecraft skin guide explains the Java launcher flow and the difference between Classic and Slim models. The official Character Creator FAQ notes that custom imports are available on supported Bedrock platforms such as Windows and mobile, while console support is more limited. Check the destination platform before spending time refining an HD file.
After export / keep control
Always check both previews before downloading. The rotating 3D model shows how colors wrap around a player, while the flat texture exposes the exact PNG layout. Look at the face, shoulders, inside and outside of the arms, leg seams, and the transition between front and back. If a side looks stretched, adjust the crop or side-wrapping option instead of assuming the game will repair it later.
The downloaded file is a normal transparent PNG with no account or proprietary project format attached. You can import it directly where custom skins are supported, keep multiple versions, or open it in a compatible skin editor for pixel-level cleanup. Manual editing is useful for sharpening eyes, fixing asymmetry, restoring a small logo, adding deliberate shading, or painting details that were never visible in the original image.
Think of image conversion as a fast starting point, not a substitute for every artistic decision. The tool handles repetitive UV placement and gives you an inspectable draft. You remain responsible for deciding which details matter, whether the mirrored back is acceptable, and whether the final skin reads clearly at Minecraft scale.
Browser boundary / visible by design
File reading, body alignment, skin mapping, 3D preview, and PNG export all happen locally. The current product has no photo-upload API and stores no gallery of your images.
Field notes / FAQ
Answers about supported images, browser privacy, non-AI mapping, mobile use, skin sizes, and Java or Bedrock imports.